

Craft
Kid-Friendly, Super Fast Halloween Paper Bunting
Sep
I’ve learned a thing or two about crafting both with kids and crafting when the kids in the house are awake. And bored.
1. It’s got to be simple. There’s no room for fancy sewing machines (as I’d originally
intended to use when making a fabric Halloween bunting) or other fancy equipment that require sharp needles around little, inquisitive hands.
2. It’s got to be fast. My kids give me about 10 minutes worth of good, focused attention on any given project. After that, I’ll find a baby with a gallon of glitter dumped on her head and my walls covered with cave drawings (created using my super-expensive scrapbooking markers, obviously).
This project fit the bill. We don’t have much by way of Halloween decor since we moved across the country this past June. Lucky for us, my craft supplies made it.
The inspiration for this project came from a blog I blindly clicked through a few weeks ago. I really liked the book pages used as the individual flags and after a quick trip to the local craft store, I came back with plenty of material that would be useful embellishments for a spooky theme.
Truth be told, I did feel a small pang of anguish as I ripped apart a book to use it’s pages for my Halloween fun…but it soon passed as soon as we got the glue and glitter on it.
They’re just too cute.
This particular project had pretty inexpensive and plentiful materials, so I made a smaller version for my 3-year-old (nicknamed “Boo” since birth, by the way) to work on while I did the larger version. He used stickers I had around the stash box to decorate his flags and it gave me a chance to work on my own project.
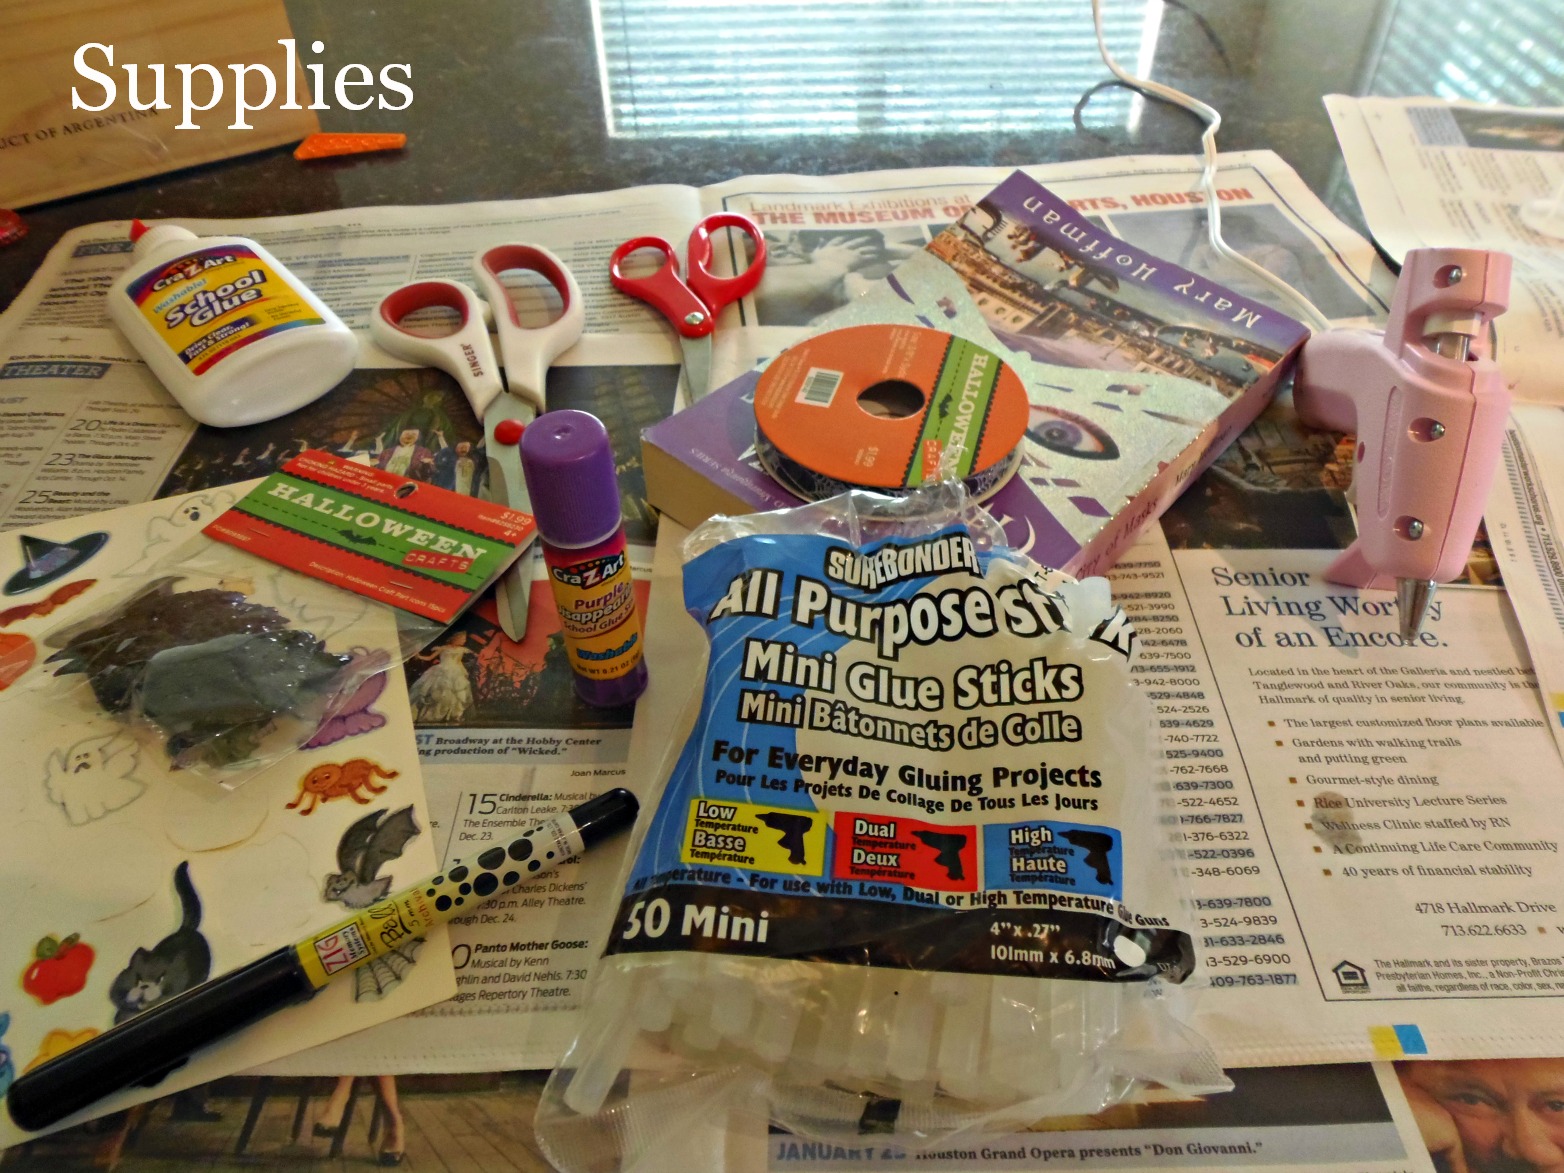
Supplies:
- Ribbon or raffia cut to desired bunting length
- Book pages (I used a trade paperback and it was the perfect size)
- Hot glue (I’m sure normal white glue would work, too…I just don’t have the patience to wait for it to dry!)
- Acrylic paint and brush
- Construction paper
- Various colors of glitter
- Assorted Halloween stickers or embellishments (I found medium-sized black bat stickers)
Instructions:
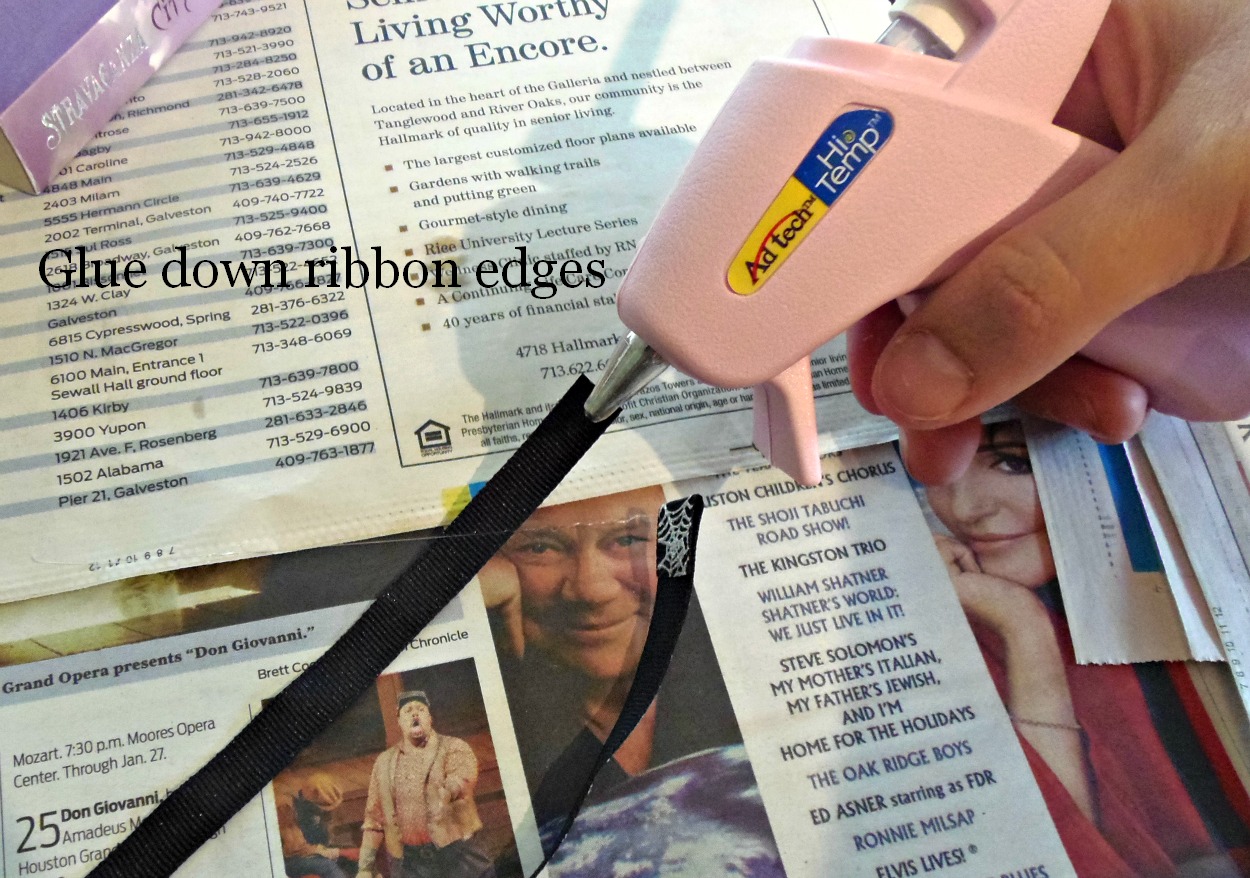
1. I used my hot glue gun to secure the edges of the ribbon down to guard against fraying. (And yes, I realize it was a gamble to bring this smoking hot accessory out with my 3-year-old around,but it was a risk I was willing to take).
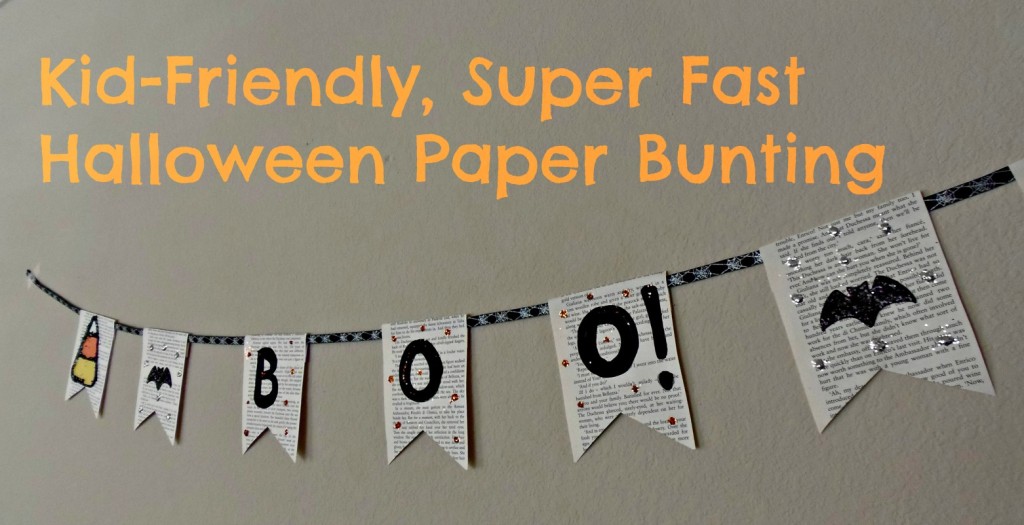
2. Tear enough pages from a book (I used a book I picked up at a garage sale) to populate your banner. I used seven. Two for candy corn decorations, two bats, and three for the letters. Cut the rough edge you got from tearing, and then stack them together to cut some sort of fancy edge along the bottom. I chose to get rid of the page number, too.
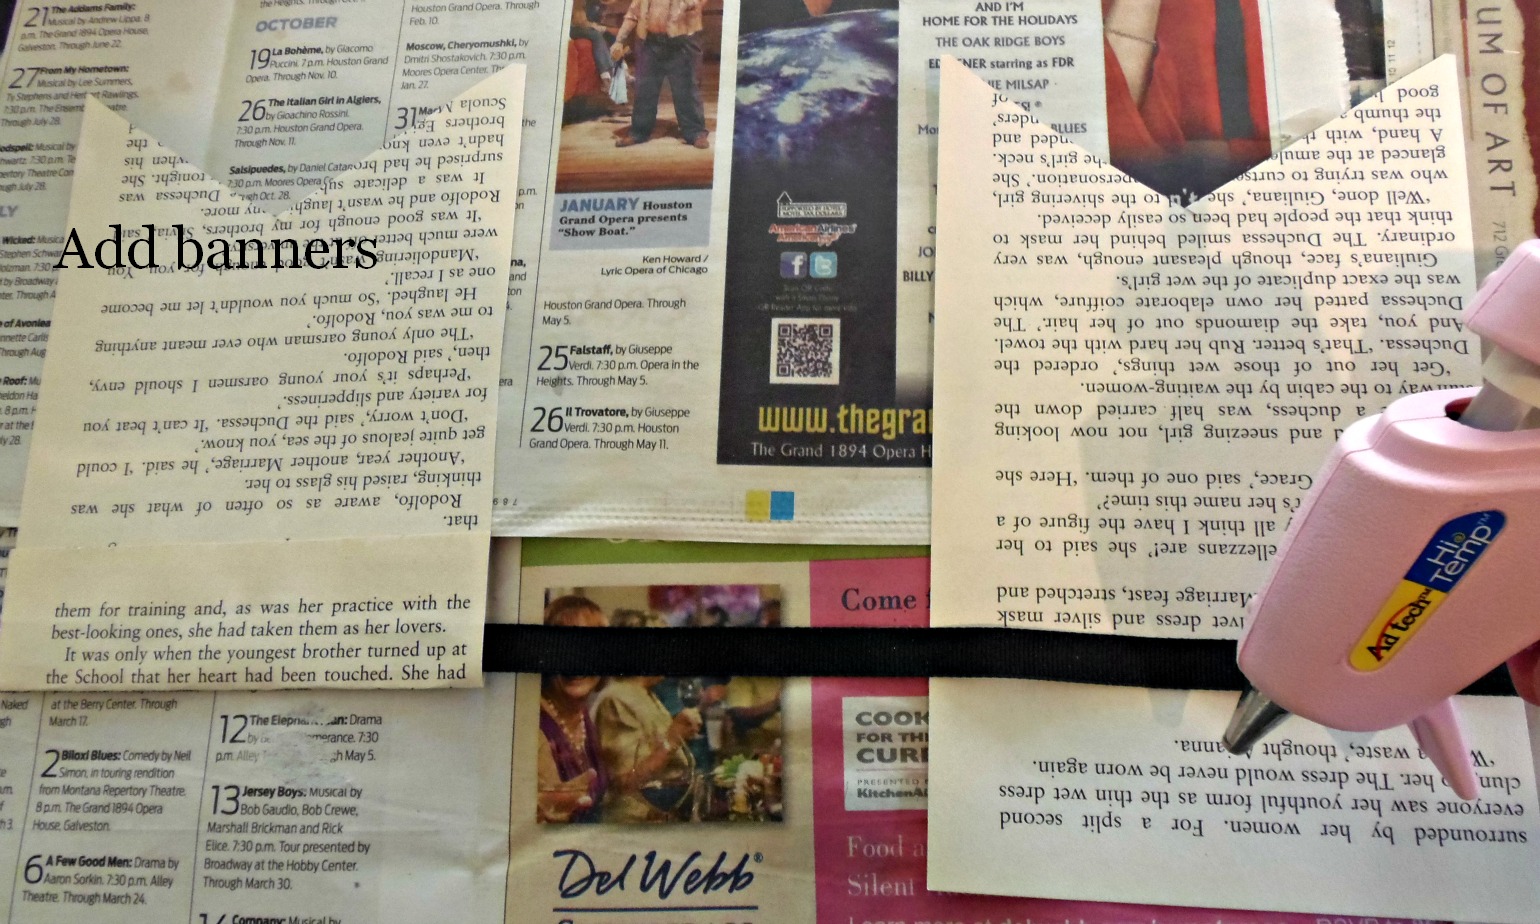
3. Lay the ribbon decorate side down and space out your flags. I placed the pages underneath the ribbon with enough room at the top to put a line of glue. When the glue was down, I folded the top down and secured the flag. I used tape to mark out the spacing between flags.
4. When the glue is no longer a danger to your fingers, children, or counter tops (I learned the hard way, thankee very much), flip it over and decorate. I used construction paper to make candy corn appliques and the bat stickers. The center three flags became B-O-O.
5. My last step was the glitter. What fun is a project without glitter? I dotted white glue randomly around the flags and sprinkled black and orange glitter around. I think my 15-month-old tried to eat some of the orange sparkles at one point, but, you know, no harm no foul. Everything’s better with glitter–even my kids!
Happy Funtober!