

Craft, Halloween Crafts Fun
Leaf Printed Linens
Oct
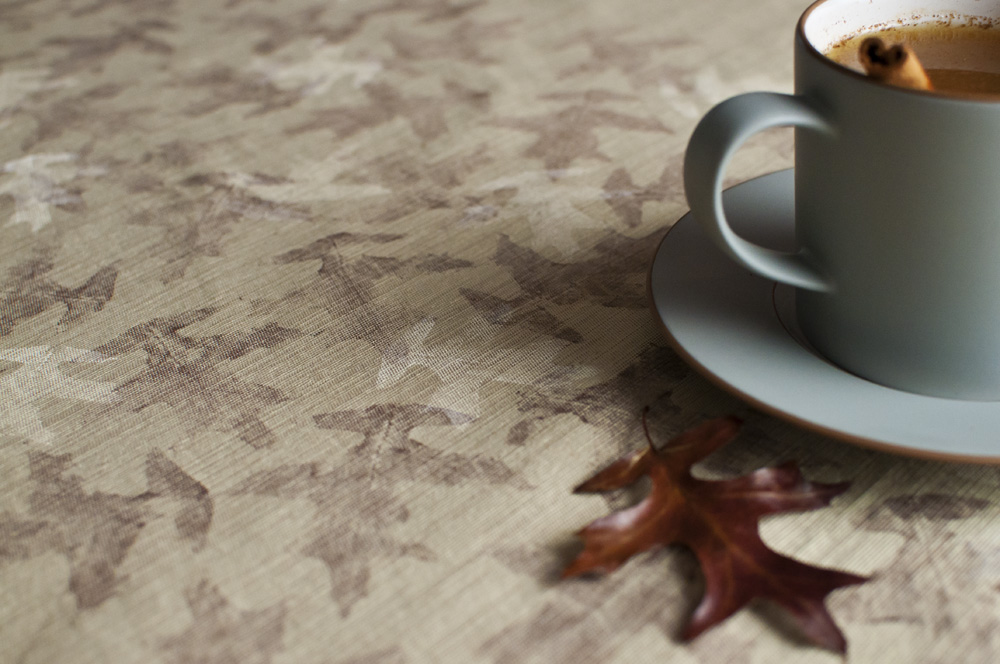
To be perfectly honest, this project is the result of one of those moments when I’m at the store looking at kitchen and table linens that I really don’t need (but I don’t have an autumnal leaf tablecloth!) and one catches my eye — the colors! the pattern! Then I see the price tag, and a case of “I can make that” inevitably sets in.
As an art major in college, I ended up with three semesters of printmaking under my belt, so I immediately started running through the list of ways that I could create my own leaf printed linens. Yet, if you’ve ever walked down a leaf-covered sidewalk after a heavy rain, you’ve probably noticed that leaves are pretty good at making beautiful prints on their own. Simplicity wins every time.
This just goes to show that you don’t really need fancy equipment or special supplies — or a small fortune — to spruce up your kitchen and dining room with seasonal linens. All I started with was an inexpensive, plain tablecloth (I’ve also used white floursack towels, too, which work great), a little paint, and some leaves gathered twenty feet from my front door. But I ended up with a stack of dinner party-worthy linens that are sturdy enough for every day use — because there’s always room for just a little more October.
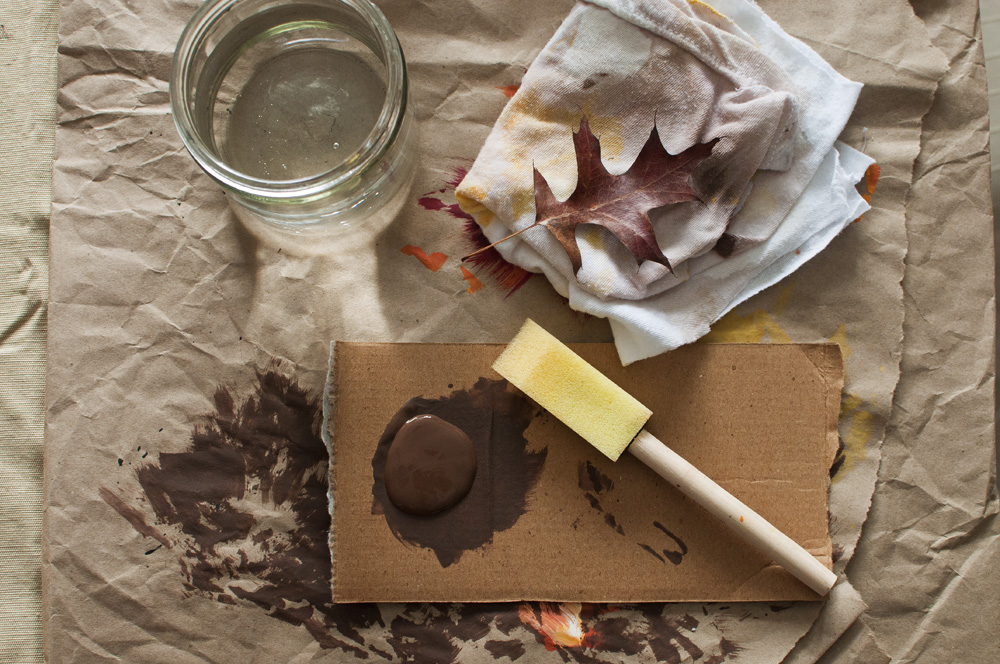
MATERIALS
- Leaf (or leaves)
- Acrylic craft paint or fabric paint
- Foam brush
- Linens (such as a tablecloth, tea towel, etc.)
- Scrap paper (such as newspaper) and cardboard/paper plate
FIRST THINGS FIRST
Look for leaves that are freshly fallen — they should still have bright color. These will be sturdy enough to withstand repeated painting and printing. Leaves that are too old and dry will be too brittle; leaves that are young will be too thin and soft. If you’re out in the woods, make sure you can clearly identify what kind of plant a leaf came from before you pick it up (visually, as in “It is obvious that this leaf has fallen from that giant tree there!”). A case of poison ivy/oak/sumac might put a damper on a crafty afternoon.
Fabric paint is good if you have some; I used acrylic craft paint because I tend to have it on hand in a variety of colors. Acrylic paint is permanent once it has set into fabric (or any porous material), which makes it a good choice for painting fabric on purpose. However, make sure to cover your work surface underneath the fabric, and wear a smock or apron so that you don’t ruin your clothes. Your fingers will get a little messy!
A thin coat of paint is key to getting a good print. Dispense some paint onto a paper plate or scrap of cardboard. Using a plate will help you get the right amount of paint on your brush by spreading it around thinly, whereas dipping the brush will load it with too much paint. Practice on a scrap piece of fabric first.
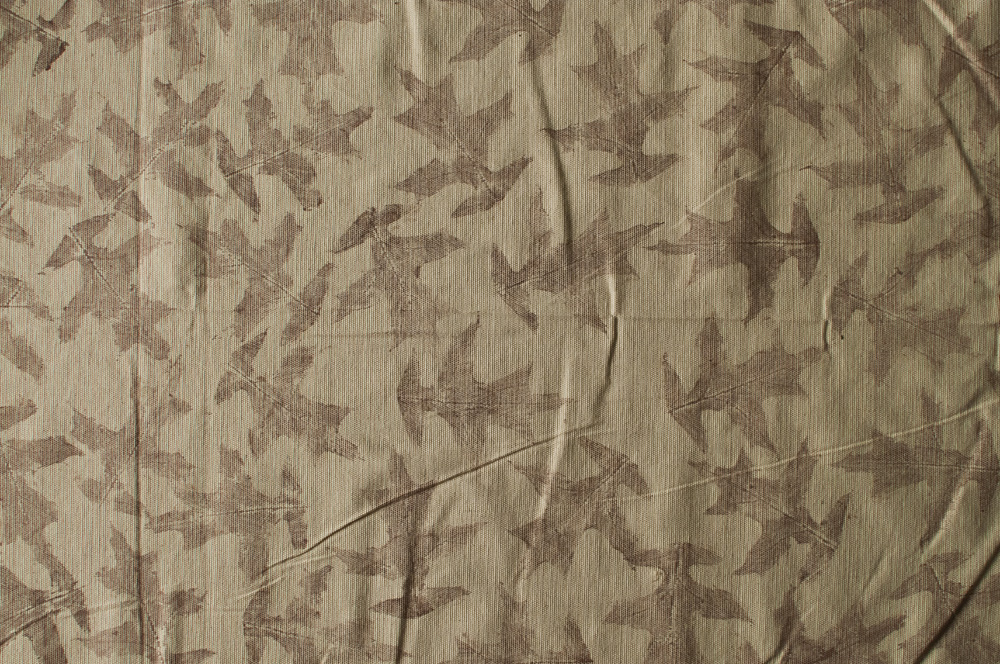
(It’s also a good idea to wash and iron, if necessary, your linens before printing on them. I didn’t, and had to stretch the fabric slightly as I worked to keep creases and wrinkles from ruining my prints. Don’t be like me.)
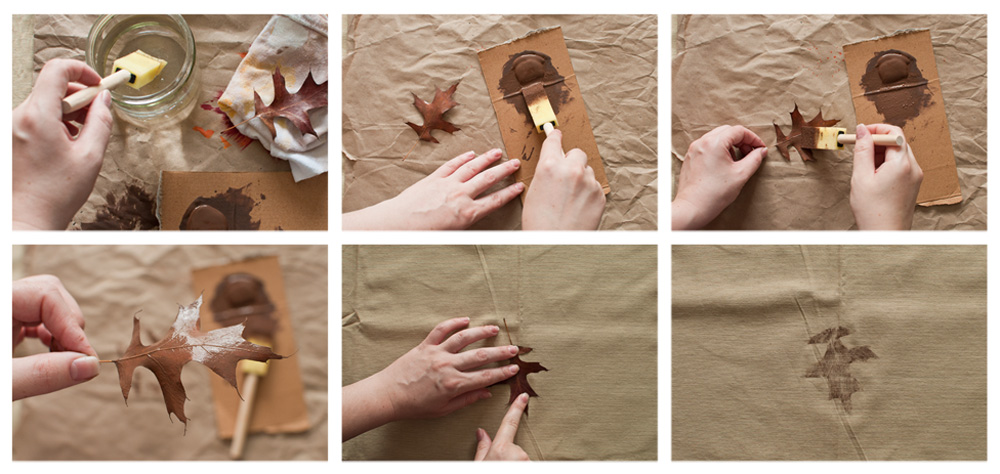
1. Dip the foam brush in water and blot on a rag or paper towel. You want the brush to be more wet than damp, but less than soaking. This will thin the paint out just enough to soak into the fibers and remain flexible, but retain enough viscosity to make a clean print. Play around with the amount of water you use. You can get away with more for darker colors to create a watercolory look, but I add almost no water to lighter colors like yellow and white.
2. Use the tip of the brush to pull out a bit of paint from the blob. Evenly coat the tip of the brush with paint by spreading the paint around a small area of the plate, using short, even strokes on both sides of the brush.
3. Apply a thin, even coat of paint to the back of the leaf using short, even strokes.
4. Carefully place the leaf — painted side down — onto your fabric. Hold in place firmly, but gently, with one hand so that the leaf doesn’t slip. Use one or two fingers on your other hand to tap firmly all over the leaf from the center out to the edges, pressing the leaf downward onto the fabric. Avoid rubbing the leaf as this will create unnecessary friction, which may cause the leaf to become more brittle, and can smear paint over the edge of the leaf onto the fabric.
5. Peel the leaf straight up by the stem. Do this slowly and carefully to avoid damaging the leaf or smudging the print.
6. Repeat steps 2–5 to create the desired pattern.
If you want to change colors with the same leaf, you can clean it by gently wiping off the wet paint with a damp paper towel.
Allow the paint to dry overnight.
Set the paint with a hot iron on the “cotton” setting: press the iron over a painted area (in one place; don’t slide it around) for 10–20 seconds. Repeat until you have ironed over all painted areas. You should then be able to machine wash your painted linens in cold water and dry on low heat as needed (or follow manufacturer’s instructions if gentler laundering is required).
Pingback: How To Print Leaf Motives On Linens
Pingback: Natural Fall Inspired Crafts
Pingback: 25 Beautiful Ways to Use Leaves - Dukes and Duchesses